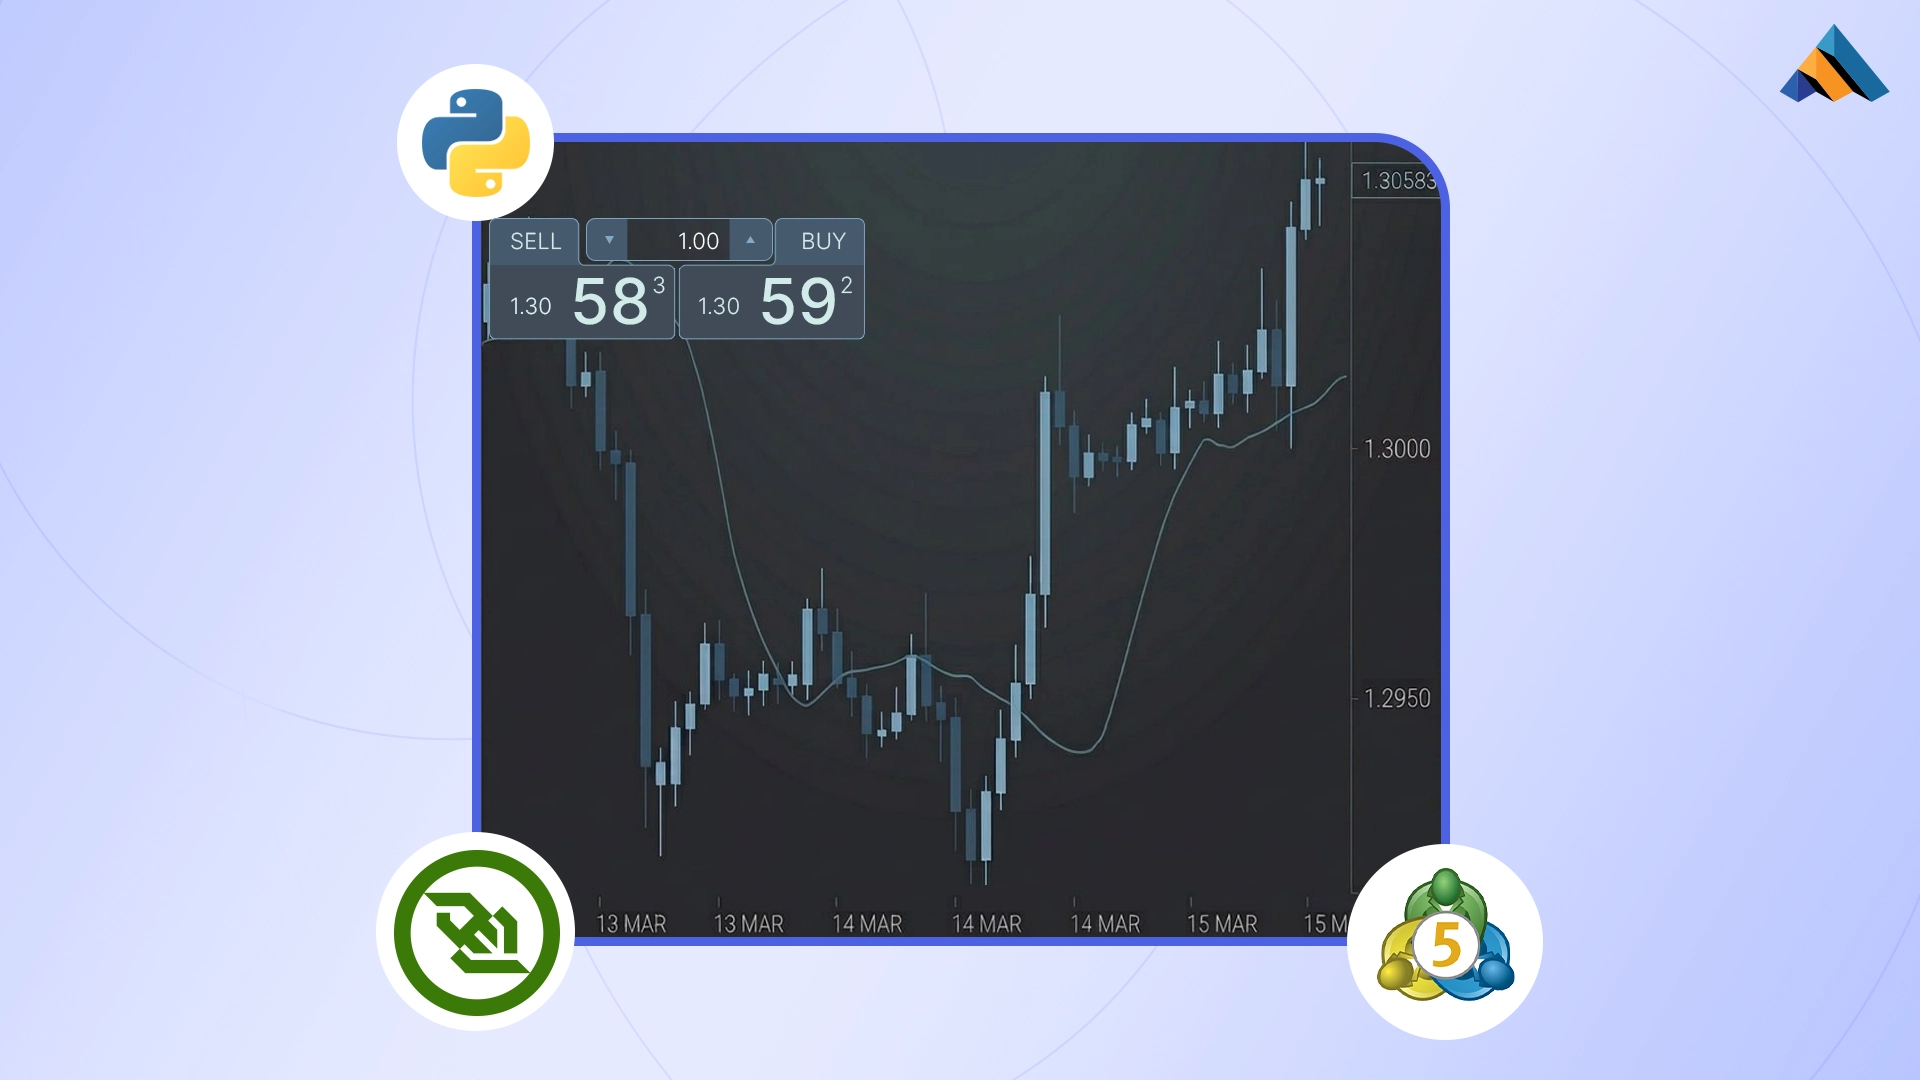
Welcome to the ultimate guide for taking complete control of your MetaTrader 5 (MT5) market data.
In algorithmic trading, a strategy is only as robust as the raw data it ingests. For quantitative developers and traders alike, poor chart visualization—caused by missing candles, dropped ticks, or fragmented historical data—can instantly invalidate deep backtests and shatter live execution logic.
Typically, designing a high-quality data ingestion pipeline forces a frustrating compromise: you either download bulk static historical files to analyze the past (leaving you with a dead, unmoving chart), or you stream live, real-time ticks to trade the present (leaving your indicators blind with no historical context).
But what if you didn't have to compromise? What if you could build a continuous, hybrid plugin that merges deep historical context with live market action?
In this advanced tutorial, we are building exactly that: a professional-grade, low-latency "Smart Bridge" for flawless data ingestion and visualization. And to bring this data to life, we will use MetaTrader 5 (MT5) as our powerful charting and execution engine.
We will construct a plugin that first connects to TraderMade's REST API to seamlessly backfill your historical charts, and then automatically transitions to their WebSocket API to inject sub-second, real-time ticks directly into dynamically created MT5 Custom Symbols.
Architecture Overview
Our upgraded plugin introduces memory, state tracking, dynamic symbol creation, and a custom data protocol. It consists of three primary layers:
- TraderMade APIs (REST + WebSocket): The source of our market data. We use REST for bulk historical minute-candles and WebSockets for live sub-second tick data.
- Python Master Bridge (TCP Server): A Python script that acts as the brain. It manages configurations, fetches missing history via REST, seamlessly shifts to WebSockets, and hosts a local TCP server to stream everything to MT5.
-
MQL5 "UltraLight" Receiver (TCP Client): An Expert Advisor in MT5 that connects to Python. It parses a 4-part custom protocol to dynamically build perfect custom charts:
-
S (Setup): Dynamically creates Custom Symbols in MT5 based on Python's config.
- R (Rates): Injects historical M1 candles.
- T (Ticks): Injects live bidirectional pricing.
- D (Delete): Wipes ticks from a specific timeframe to prevent data overlap.
Setting Up Your Environment
Let’s dive into this tutorial. First, ensure you have Python installed on your machine. Open a command window or terminal and type python --version. If you see a version number (preferably 3.7 or higher), you're good to go! If not, you'll need to install Python. Also, make sure to grab your API keys for both REST and WebSocket data by creating an account and visiting your user dashboard at TraderMade.
Setting Up the Project Directory Let's organize our workspace! Please create a new directory on your computer to store our Python script, the configuration files, and the state tracker. Create a new directory on your computer (e.g., MT5_Data_Bridge) to store your Python script, configuration files, and state tracker. Once created, open your terminal and navigate inside your new project directory.
Installing Libraries Our bridge script requires two specific external libraries to communicate with TraderMade's servers. Run the following command in your terminal to install them:
pip install websocket-client requests
This command equips your Python environment with the exact tools it needs: the requests library allows us to easily download bulk historical market data via the REST API, while websocket-client enables the persistent, high-speed connection required to stream live sub-second price ticks.
Step 1: Core Configuration and State Memory
Here, we are defining our master variables and setting up a localized memory system. This is crucial for managing financial APIs, which often have strict rate limits and penalty timeouts.
The DAYS_BACK variable acts as a silent guardrail. If someone tries to request 5,000 days of 1-minute data, it will lock up the API and crash the computer's memory. The min() function forces a hard ceiling of 180 days.
# Global configuration
DAYS_BACK = min(10, 180) # Hard cap at 180 days for safety
The CHUNK_DAYS variable dynamically limits how much data we request in a single API call. If we try to fetch 10 days of 1-minute data at once, the server will reject it. This prepares the script to paginate the requests safely.
# Global configuration
INTERVAL = "minute"
PERIOD = 1
CHUNK_DAYS = 1 if INTERVAL == "minute" else 10
The STATE_FILE path (history_tracker.json) creates a persistent "memory" for the script. If the internet drops or the script restarts, this file remembers the exact timestamp of the last successfully downloaded candle. This ensures we only fetch the missing data instead of starting from day zero and wasting API calls.
import os
# ...

# File to act as the script's "memory"
base_path = os.path.dirname(os.path.abspath(__file__))
STATE_FILE = os.path.join(base_path, "history_tracker.json")

mt5_conn = None
ws_session_start_time = {}
sync_state = {}
first_seen_minute = {}
Step 2: Historical Backfill and REST API
The fetch_data_chunked() and injection processes are designed to download historical data in safe batches and format it for MetaTrader 5's strict TCP socket requirements.
Inside fetch_data_chunked(), a while loop moves a "window" of time forward by CHUNK_DAYS. It fetches a small block of time, shifts the start date forward, and loops until the entire historical range is downloaded.
def fetch_data_chunked(symbol, start_time, end_time):
    all_quotes = []
    current_start = start_time

    while current_start < end_time:
        current_end = current_start + timedelta(days=CHUNK_DAYS)
        if current_end > end_time: current_end = end_time

        str_start = current_start.strftime("%Y-%m-%d-%H:%M")
        str_end = current_end.strftime("%Y-%m-%d-%H:%M")

        # ... REST API call executes here ...

        current_start = current_end
        time.sleep(0.5)

    return all_quotes
Before sending data to MT5, the script forces timezone strictness using the following method:
datetime.strptime(...)** **.replace(tzinfo=timezone.utc)
This timezone strictness is vital. It forces the timestamp into pure UTC so that MT5 aligns the candles perfectly on the chart.
def fetch_data_chunked(symbol, start_time, end_time):
    # ...
    for quote in quotes_to_inject:
        # TIMEZONE FIX: Ensuring strict UTC synchronization with MT5
        dt_obj = datetime.strptime(quote['date'], "%Y-%m-%d %H:%M:%S").replace(tzinfo=timezone.utc)
        ts = int(dt_obj.timestamp())
MT5 does not understand JSON natively over standard sockets. The data is formatted into a strict string protocol: R (Rates), followed by the symbol, timestamp, Open, High, Low, Close, and ending with a pipe | delimiter.
def fetch_data_chunked(symbol, start_time, end_time):
    # ...
    for quote in quotes_to_inject:
        # ...
        o, h, l, c = quote['open'], quote['high'], quote['low'], quote['close']

        payload = f"R,{symbol},{ts},{o},{h},{l},{c}|"
        mt5_conn.sendall(payload.encode('utf-8'))
Step 3: Receiving and Handling Live WebSockets
The on_message() function handles the critical "Transition Gap" between historical REST data and the live streaming feed to prevent missing candles on the chart.
minute_ts_sec uses floor division (// 60000 * 60) to round the incoming millisecond timestamp down to the nearest whole minute. This creates a predictable time bucket.
def on_message(ws, message):
    global sync_state, first_seen_minute

    if "bid" not in message: return

    data = json.loads(message)
    symbol = data.get('symbol')
    bid = data.get('bid')
    ask = data.get('ask')
    ts_ms = data.get('ts')

    if symbol and bid and ask and ts_ms:
        minute_ts_sec = (int(ts_ms) // 60000) * 60
The sync_state logic acts as a waiting room. Because downloading history takes time, we might connect to the WebSocket in the middle of a live minute candle. The script checks if minute_ts_sec == first_seen_minute, and if so, it uses return to drop the tick entirely.
def on_message(ws, message):
    # ...
    if symbol and bid and ask and ts_ms:
        # ...
        if symbol not in sync_state:
            sync_state[symbol] = 'waiting'
            first_seen_minute[symbol] = minute_ts_sec

        if sync_state[symbol] == 'waiting':
            if minute_ts_sec == first_seen_minute[symbol]:
                return # Wait for the next clean M1 candle to start
The exact second a brand new minute rolls over, it knows the previous minute is officially complete. It uses a REST call (fetch_single_skipped_candle) to fetch that one missing transition gap candle, marks the state as synced, and opens the floodgates.
def on_message(ws, message):
    # ...
        if sync_state[symbol] == 'waiting':
            # ...
            else:
                # Fresh candle started! Pull the old candle via REST
                fetch_single_skipped_candle(symbol, first_seen_minute[symbol])
                sync_state[symbol] = 'synced'
Live ticks are then formatted with the T (Tick) payload and pushed to MT5 to draw the live price line.
def on_message(ws, message):
    # ...
        if sync_state[symbol] == 'synced':
            payload_T = f"T,{symbol},{bid},{ask},{ts_ms}|"
            mt5_conn.sendall(payload_T.encode('utf-8'))
Step 4: Main Execution Flow and TCP Handshake
This section hosts the local TCP server, dictates the strict initialization sequence, and acts as an emergency parachute if the user closes the script.
Python acts as the host server, pausing execution until you drag the Expert Advisor onto an MT5 chart to establish the connection. Phase 0 (Setup): It sends the S payload ("S,EURUSD,GBPUSD|"). This instructs the MT5 EA to generate and configure the custom offline charts before any real data arrives.
# Main Execution Flow
# ...
            # Phase 0: Send dynamic symbol creation payload
            setup_payload = "S," + ",".join(SYMBOLS_TO_STREAM) + "|"
            mt5_conn.sendall(setup_payload.encode('utf-8'))
            time.sleep(0.5)
Phase 1 & 2 (History to Live): It loops through your required symbols and triggers the historical backfill injection. Only after MT5 has successfully drawn the historical candles does the script execute ws.run_forever(). This ensures MT5 never tries to paint live ticks onto an empty chart.
# Main Execution Flow
# ...
            # Phase 1: Automated backfill sequence
            for sym in SYMBOLS_TO_STREAM:
                fetch_and_inject_history(sym)

            # Phase 2: Connect to WebSocket
            ws = websocket.WebSocketApp(
                "wss://marketdata.tradermade.com/feedadv",
                on_message=on_message
            )
            ws.run_forever()
The finally: block (Cleanup): To save disk performance, we don't save every live WebSocket tick to history_tracker.json. If a user abruptly closes the window, this block intercepts the exit command. It quickly overwrites the tracker file with the exact timestamp of when the WebSocket session originally started, ensuring it knows exactly how large of a gap it needs to fetch on the next run.
# Main Execution Flow
try:
    # ... (Phase 0, 1, 2) ...
finally:
    # RUNNING CLEANUP BEFORE EXIT
    if os.path.exists(STATE_FILE):
        with open(STATE_FILE, "r") as f:
            tracker = json.load(f)

        for symbol in SYMBOLS_TO_STREAM:
            if symbol in tracker and symbol in ws_session_start_time:
                # Reset the latest memory to the moment WS started
                revert_time = ws_session_start_time[symbol]
                tracker[symbol]['latest'] = revert_time.strftime("%Y-%m-%d %H:%M:%S")

        with open(STATE_FILE, "w") as f:
            json.dump(tracker, f, indent=4)
Download the Source Code (Python) from our GitHub Repository here.
Step 5: Create the MQL5 "UltraLight" Receiver
Before we look at the code, we need to create the file in MT5 to hold it:
- Open MT5 and press F4 to open MetaEditor.
- In the Navigator panel on the left, expand the Experts folder. Right-click on the Advisors folder and select New File.
- Choose Expert Advisor (template), click Next, name the file TraderMade_UltraLight_Receiver, and click through to Finish.
- Paste the downloaded MQL5 code into this file and press F7 to compile it.
Because Python is doing all the heavy computation, API rate handling, and state tracking, the MT5 Expert Advisor (EA) is practically weightless. It acts as a pure translator. It catches the network data string sent by Python, chops it up into digestible pieces, and uses native MT5 functions to physically paint the charts.
Let's look at the two core engines inside the MQL5 EA.
1. The TCP Client Connection
For MT5 to receive data, it needs to reach out and "shake hands" with the Python server we built in the previous step.
The OnInit function fires the exact moment you drag the EA onto a chart. It creates a socket and attempts to connect to Python's local server on port 9090. If the connection is successful, it triggers EventSetMillisecondTimer(10). This creates a hyper-fast loop that fires every 10 milliseconds, ensuring MT5 is constantly polling the socket and is ready to catch sub-second WebSocket ticks the instant they arrive.
input string Suffix = "_TRADERMADE"; // Suffix for our custom symbols
int client_socket = INVALID_HANDLE;

int OnInit() {
   client_socket = SocketCreate();

   if(client_socket != INVALID_HANDLE) {
      // Connect to the local Python server on port 9090
      if(SocketConnect(client_socket, "127.0.0.1", 9090, 1000)) {
         Print("Successfully connected to Python Master Bridge! Waiting for instructions...");

         // Set a hyper-fast timer to check for new data every 10ms
         EventSetMillisecondTimer(10);
      }
      else Print("TCP Connection failed! Start Python script first.");
   }
   return(INIT_SUCCEEDED);
}
2. The Custom Protocol Translator & String Buffer
When Python sends historical data, it blasts thousands of characters over the network at once. To prevent MT5 from crashing, the OnTimer() function uses a data_buffer and looks for the pipe | character to safely chop the text into individual, readable commands.
Once chopped, it reads the first letter of the string to know exactly what to do:
The S (Setup) Command: Python says "S,EURUSD". MT5 automatically appends your suffix to create EURUSD_TRADERMADE directly in your Market Watch window. The SYMBOL_CHART_MODE_BID flag is critical here—it forces MT5 to render the chart based purely on Bid prices, preventing strange visual glitches.
void OnTimer() {
    // ... inside string parsing loop ...

    // Phase 0: S = Setup (Dynamic Symbol Creation)
    if(comp[0] == "S") {
        for(int i = 1; i < c_count; i++) {
            string raw_sym = comp[i];
            string custom_name = raw_sym + Suffix; // e.g., EURUSD_TRADERMADE

            CustomSymbolCreate(custom_name, "", raw_sym);

            CustomSymbolSetInteger(custom_name, SYMBOL_CHART_MODE, SYMBOL_CHART_MODE_BID);
            SymbolSelect(custom_name, true);
        }
    }
// ...
}
The R (Rate) Command: Takes the historical REST data, converts the string values back into numbers, and permanently writes the M1 candles to the MT5 database using CustomRatesUpdate.
void OnTimer() {
    // ... inside string parsing loop ...

    // Phase 1: R = Rate (History M1 Candle from REST)
    else if(comp[0] == "R" && c_count == 7) {
        string custom_name = comp[1] + Suffix;
        MqlRates rate[1];
        rate[0].time  = (datetime)StringToInteger(comp[2]);
        rate[0].open  = StringToDouble(comp[3]);
        rate[0].high  = StringToDouble(comp[4]);
        rate[0].low   = StringToDouble(comp[5]);
        rate[0].close = StringToDouble(comp[6]);
        rate[0].tick_volume = 1;

        CustomRatesUpdate(custom_name, rate);
    }
// ...
}
The T (Tick) Command: Takes the lightning-fast WebSocket stream and pushes the Bid/Ask values to the chart via CustomTicksAdd. (Pro tip: Calling SymbolInfoDouble right after acts as a hidden trigger to force the MT5 chart UI to visually refresh!) The D (Delete) Command: If Python detects an overlap between your old saved history and the new live stream, it sends this command to wipe that specific time window clean using CustomTicksDelete.
void OnTimer() {
    // ... inside string parsing loop ...

    // Phase 2: T = Tick (Live Stream from WebSocket)
    else if(comp[0] == "T" && c_count == 5) {
        string custom_name = comp[1] + Suffix;
        MqlTick tick[1];
        tick[0].time_msc = (long)StringToInteger(comp[4]);
        tick[0].bid = StringToDouble(comp[2]);
        tick[0].ask = StringToDouble(comp[3]);
        tick[0].flags = TICK_FLAG_BID | TICK_FLAG_ASK;

        CustomTicksAdd(custom_name, tick);
        SymbolInfoDouble(custom_name, SYMBOL_BID); // Forces UI refresh
    }

    // Phase 3: D = Delete Ticks (Wipe WS session on overlap)
    else if(comp[0] == "D" && c_count == 4) {
        string custom_name = comp[1] + Suffix;
        long start_ms = (long)StringToInteger(comp[2]);
        long end_ms   = (long)StringToInteger(comp[3]);

        CustomTicksDelete(custom_name, start_ms, end_ms);
    }
}
Note on Implementation: To get this running flawlessly on your own machine, you will need the complete scripts. Download the Source Code (MQL5) from our GitHub Repository here.
Step 6: MT5 Network Permissions
Ensure MetaTrader 5 allows local networking so the EA can talk to Python.
- Open MT5 and press Ctrl+O (Tools -> Options).
- Go to the Expert Advisors tab.
- Check Allow algorithmic trading.
- Check Allow WebRequest for listed URL:.
- Add 127.0.0.1 and https://marketdata.tradermade.com to the list. Click OK.
Step 7: Running the Hybrid Pipeline
With the code downloaded and MT5 configured, the startup sequence is incredibly simple.
-
Add Your Keys: Open the main.py file you downloaded from GitHub. Paste your TraderMade REST and WebSocket API keys at the top of the file. Define which symbols you want and how many days of history. Save the file. Download the Complete Source Code (Python & MQL5) from our GitHub Repository here.
-
Start the Bridge: Run python main.py in your terminal. It will say Waiting for MT5 to connect....
- Attach the EA (CRITICAL STEP): In MT5, open the Navigator (Ctrl+N), find your TraderMade_UltraLight_Receiver EA, and drag it onto a NORMAL broker chart (e.g., your broker's default EURUSD). Do not drag it onto your newly created Custom Symbol charts!
- Enable Permissions: When the EA settings window pops up, navigate to the Common tab, ensure the Allow Algo Trading box is ticked, and click OK.
-
Watch the Magic:
-
Python will instantly detect the EA and send the S command.
- MT5 will dynamically create your custom symbols (e.g., EURUSD_TraderMade).
- Python will start downloading historical data via REST and pushing it to MT5.
-
Once caught up, it will seamlessly transition to the live WebSocket feed.
-
Open Your Charts: Go to Market Watch (Ctrl+M), find your new custom symbols, right-click, and select Chart Window.
Bonus: The "Zero-Coding" Quick Start App
If setting up Python environments, installing libraries, and running terminal commands isn't your thing, don't worry. We have compiled the entire Python bridge into a simple, standalone executable application.
You don't need to know any Python to get this running. Just follow these simple steps:
- Download the Files: Download our pre-compiled executable bridge app and the MQL5 EA from our repository here.
- Compile the EA: Open MT5, press F4 to open MetaEditor, paste the downloaded .mq5 code into a new Expert Advisor file, and press F7 to compile it.
- The First Run (Auto-Setup): Double-click the downloaded Python executable application. Because it is your first time running it, the app will automatically generate a config.json file right next to it and pause.
- Add Your Keys: Open that newly created config.json file in any text editor. Paste your TraderMade REST and WebSocket API keys, define the symbols you want to track, and save the file.
- The Second Run (Execution): Double-click the executable app again. It will read your new configuration file and display Waiting for MT5 to connect....
- Connect & Trade: Open MT5 and drag the EA onto any standard broker chart (not your custom symbol charts). The app will instantly sync your history, switch to live ticks, and draw your new custom charts!
Download the Executable Script from our GitHub Repository here.
Conclusion
You now have a fully functional, highly advanced data pipeline that gives you the best of both worlds!
By bridging TraderMade's robust REST API for historical data with their lightning-fast WebSocket API for live ticks, you eliminate the compromises typically found in MT5 data feeds. This setup automatically handles missing candles, resolves data overlaps gracefully using state memory, dynamically creates symbols without manual MT5 intervention, and strictly manages UTC timezones to ensure your charts are flawlessly formatted.
Whether you're running complex algorithmic backtests or trading live in a proprietary environment, this architecture provides a professional-grade foundation for custom MT5 data.
Resources
- GitHub Repository: Get full code here
- Tutorial: How to Signup for a REST Plan and Get Your API Key for Free